You might have tried taking picture of the moon. The result you get could be either over exposed or under exposed image. Don’t worry. Here are few tips to get a good picture.
Taking pictures of moon and stars can be painful and require a lot of patience. The cloud as well as the light from various sources around you could play villain. On couple of occasions, all my preparations went in vein because of cloud.
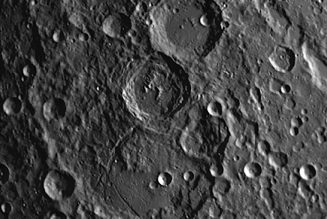
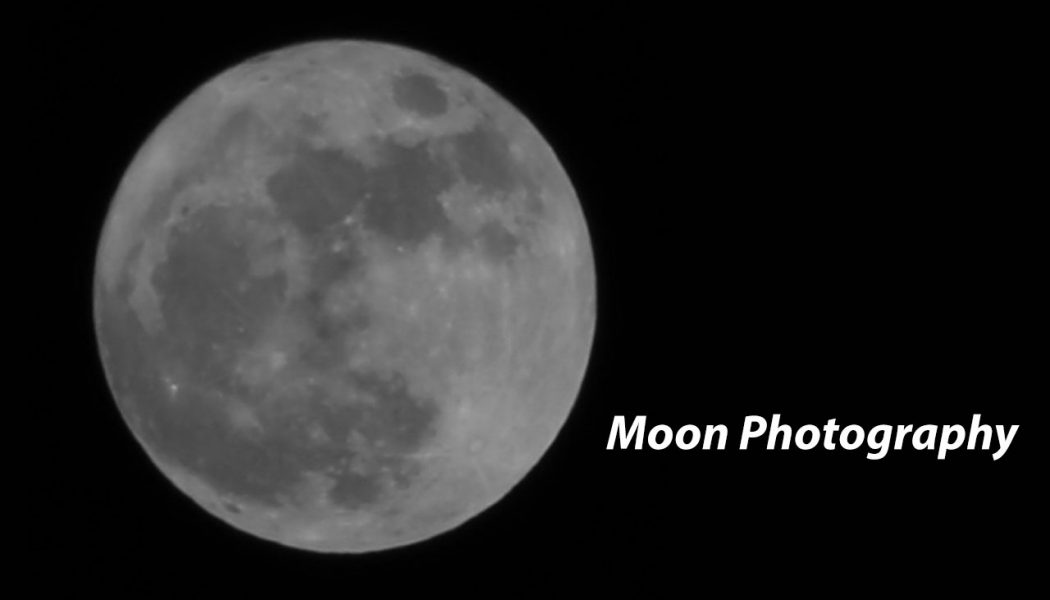
The moon should appear grey with details, rather than bright due to over exposure. The DSLR/Mirrorless/Bridge Cameras have much more control and settings compared to the mobile phone cameras.
Tips and Settings for better pictures
- Control: For Astro Photography, DSLR Cameras are preferred and that too in the Manual Focusing mode so that we have the control with us
- Lens: Use a Zoom lens so that you can get the object as close as possible to you. It is good with a bigger number always. A 75-300mm Lens is good enough
- Tripod: With Zoom, the possibility of picture distortion is more due to camera shake. Hence a sturdy tripod should be used. Avoid using the centre column of the Tripod (if it has one). This will reduce the stability and cause shake while shooting. Make sure that the tilt and rotate are locked perfectly
- Image Stabilizer: If the camera lens has a built-in Image Stabilizer, turn off the same. Turning On the Image Stabilizer can sometimes be bad while you are shooting with a Tripod
- Remote/Timer: It is always recommended to use a Remote Control for shooting instead of using the Shutter Button on the camera. When you press the button and release, chances are there for a slight shake thus blurring the image. Self-Timer function can be used if you don’t have a remote control
- AF Points Selection: It is advisable to set the Focus Point to the Middle one
- Object Position: Keep the object in the middle of the frame
- Focus: Set the focus to get a clear image using the Live View and adjusting the Focus Ring
- ISO Setting: Keep the ISO to the lowest possible – start with something like 100. Lower the number, lesser the noise
- Aperture: f-Number or Aperture controls the amount of light passing through the lens. Set the Aperture to f11 which is fairly small
- Shutter Speed: Shutter speed to be set to 1/125. If the shutter is open for long time, more light passes through. When it is quick, the amount of light is reduced. Increase the speed (like 1/200) if the picture is still bright and reduce (like 1/80) if it is dark
- RAW Mode: Try to take pictures in RAW mode as it gives more room for post processing and corrections if required. The size of the images will be much bigger than the standard JPEG images. Hence you must have required storage space as well for the Memory Card
Take a picture with these settings. Try changing the Shutter Speed if you feel the picture is not well exposed. Enjoy!